You certainly can add products directly to SKU IQ. While we recommend you continue to use the platform you are most familiar with for adding new products, adding them to SKU IQ is an option as well. However, we cannot accommodate adding new product in bulk as of yet.
How Do I Add Product To SKU IQ?
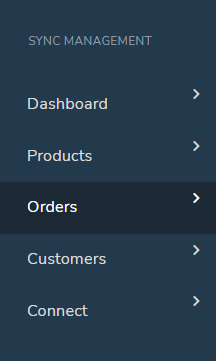
1. Navigate to the Products tab on your SKU IQ Dashboard
2. On the far right hand side of your screen, you'll see a button to + Add Product
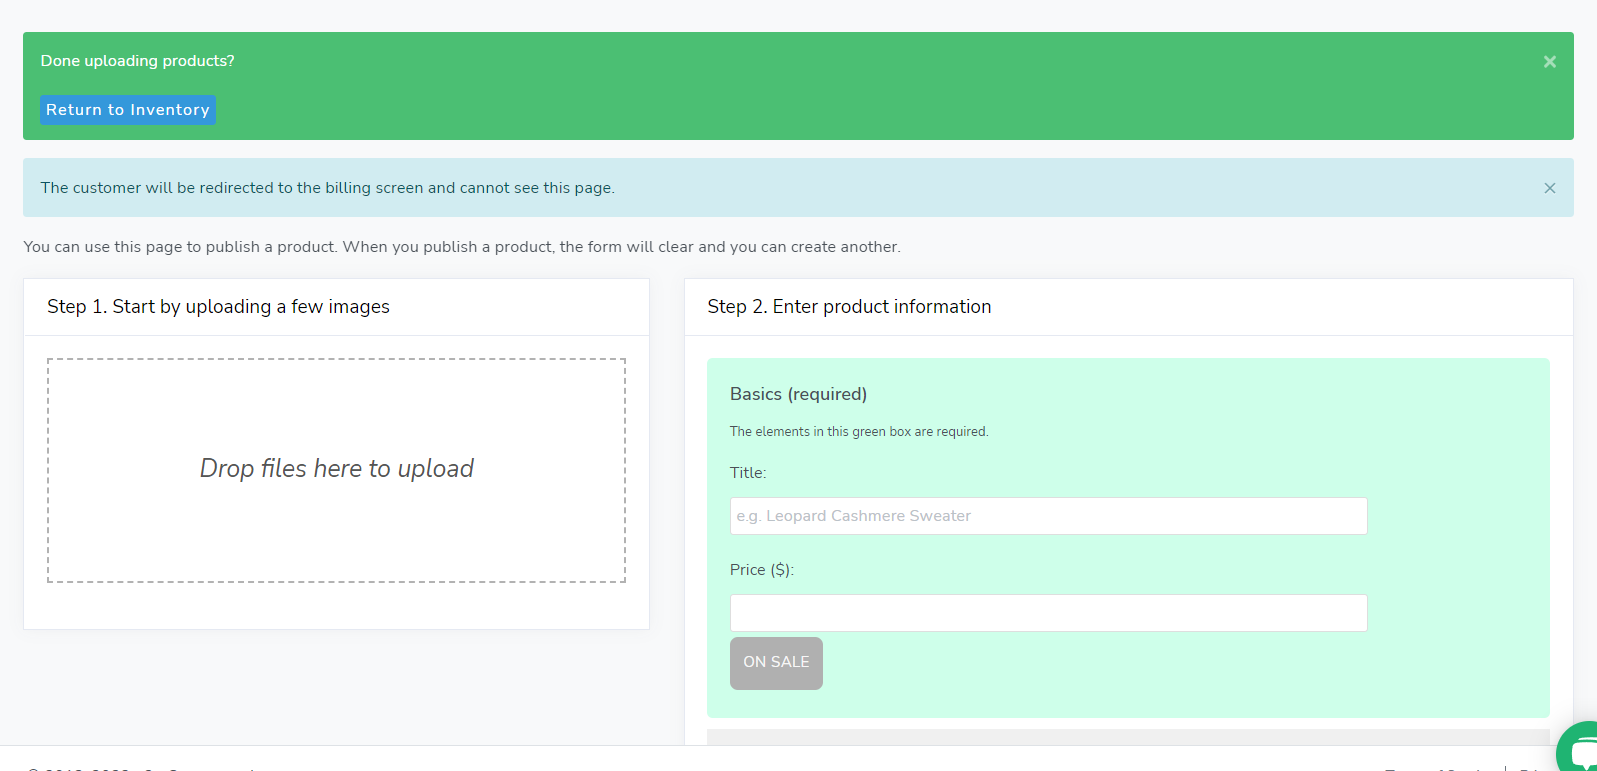
3. You will want to start by uploading pictures of your product.
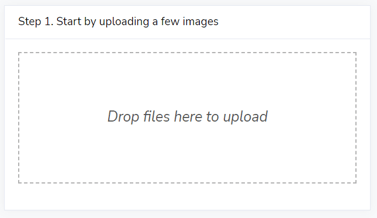
💡SKU IQ supports the use of .JPG, .PNG, and .GIF with sizes at 1MB or smaller.
You can either drag and drop from your File Explorer (Windows) or Finder (Mac) in to the box that says Drop files here to upload. Or you can click on the box and File Explorer or Finder will open automatically to the last view used by your web browser. You may need to navigate to the appropriate folder to find your pictures.
Here are some tutorials from Microsoft and Apple on how to use File Explorer and Finder.
⚠️ Note: Not all partner platforms support images. Make sure to check your specific integrations to ensure image compatibility!
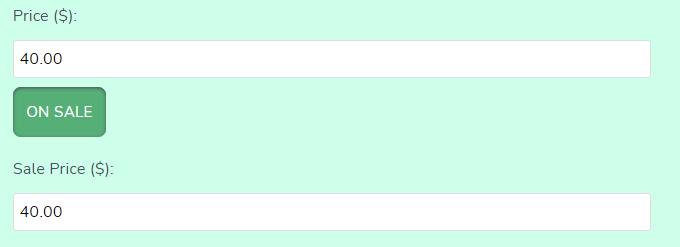
4. Once you've picked your images, you'll need to fill in the basics for your item.

The title and price will be the same on both platforms (if you choose to put the item on both platforms, see step 5 for details). Some integrations will allow you to set a sale price as well! You do this by clicking on the On Sale button (which will turn green) and entering in the sale price below it.
5. You can then choose where you would like to upload your product. You do not have to put your item on both platforms.
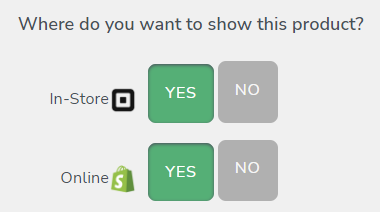 Simply select yes or no for your in-store Point of Sale or eCommerce. "Yes" will push the item to the designated platform once you click save. "No" will not push the item to the designated platform. Selecting "No" for both platforms will create the product on SKU IQ only. If you create the product only on SKU IQ, you can push it later using the toggles on the product's page.
6. Next, you'll need to fill out the rest of the information for your item. These are searchable tags that will help your product be found via search engines and impact your SEO (Search Engine Optimization). 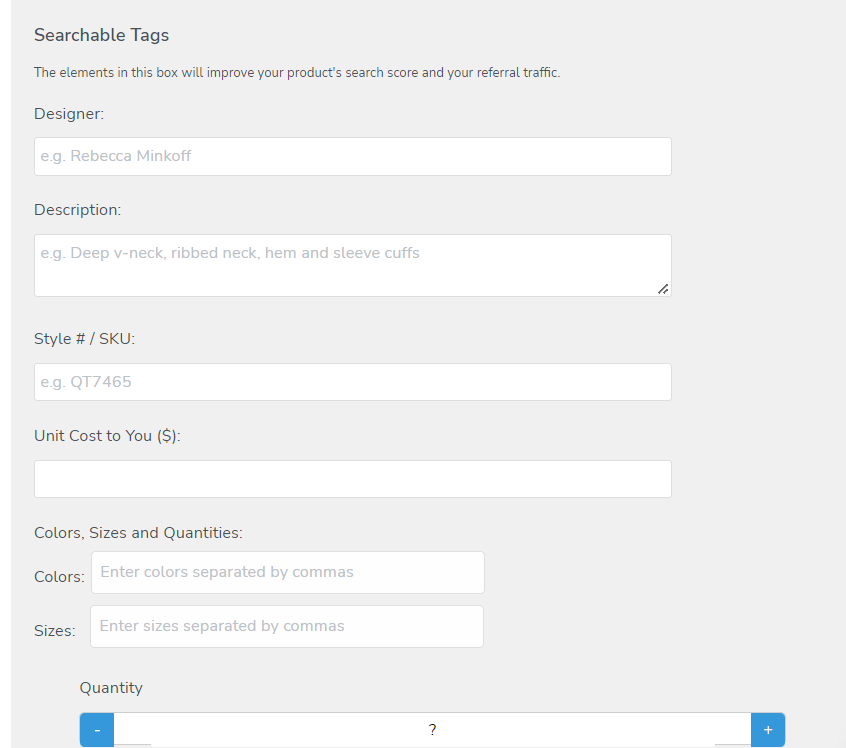
We recommend making each item you're entering unique by using unique titles and thoughtful descriptions for your items.
When you are entering in your Colors and Sizes of your product (if applicable), make sure you put a comma after each variable so it will transform in to a variant like below:
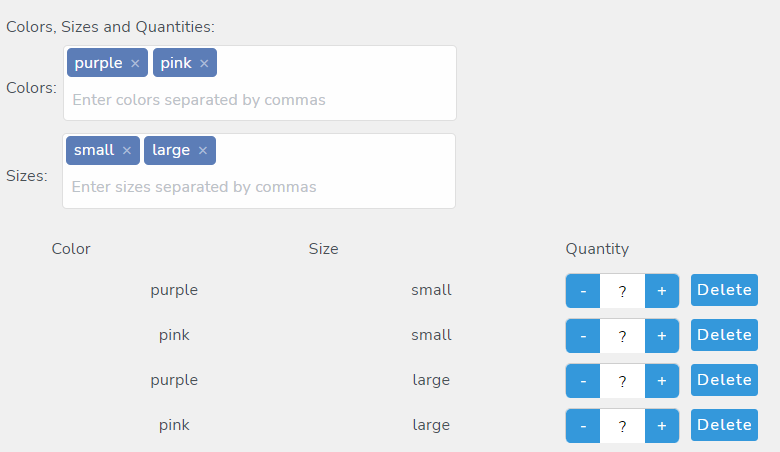
⚠️ SKU IQ is not able to use any other variable than Color or Size to create variants.
Use the + and - buttons to increase or decrease quantity, or type directly in to the quantity box. (Make sure to delete the "?"!) If you do not have a particular variant, you can delete it.
7. When you're finished entering in product information, scroll down and click the green Publish button.

It may take a few seconds (or longer depending on your Internet connection) for the product to upload. You will notice that the form will clear out and you'll be greeted with a green bar at the top of your screen asking if you are done uploading inventory. If you are not, you can continue to add product.
If you are finished adding product, you an click the blue Return to Inventory button. This will take you back to the product page. If you want to find the product you just added, search by the title of the product!